Adding a Blog to My Site with MkDocs and Cloudflare Pages
Hello, World! Welcome to the first blog post! I had been wanting to do this for a while, but never had the time. Now that Christmas is here, my work PTO has kicked in and I have some time to spare.
I decided to add a new blog section to my site with Cloudflare Pages. I have been using a free tier VM on Oracle Cloud Infrastructure (OCI) to host my main site for about a year now. It works good enough, but after watching this video I thought to myself, "I can do better than that!" So here we are.
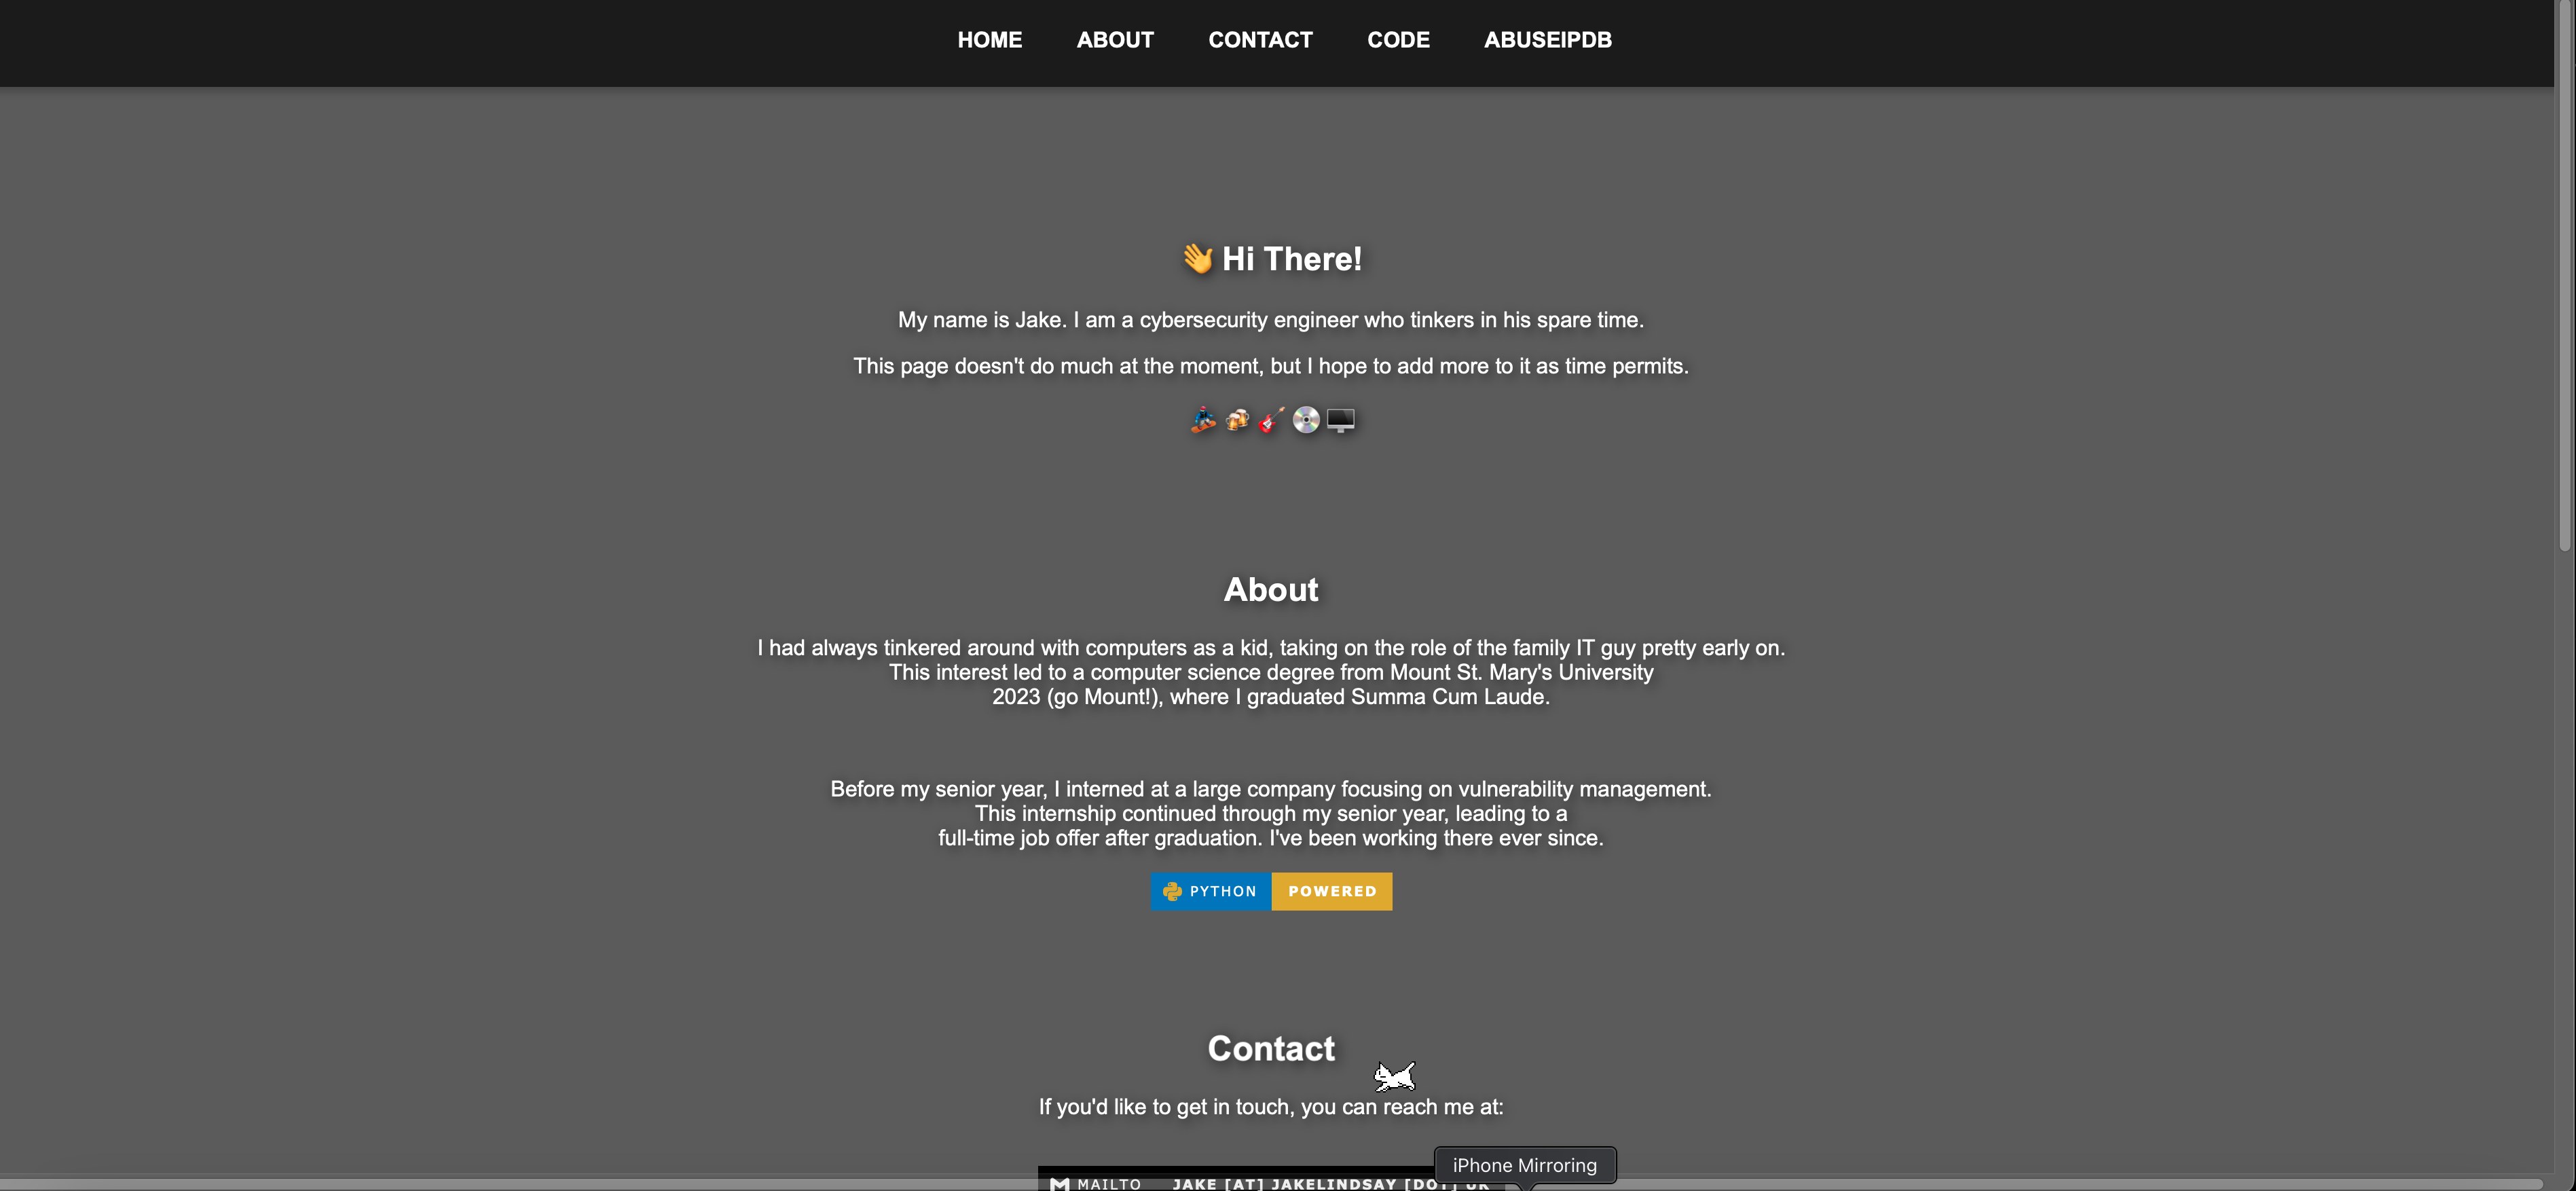
For the main OCI site, it is a single page with a few links to my social media profiles and some other things. I had built it by writing the HTML/CSS/JS by hand (I used vanilla JS, guess I'm not a cool kid):
While the site will remain the same, I did want to add in a blog section, which is quite easy to do thanks to the blog plugin for mkdocs. In this section of the site, I will be writing about various things that interest me, mainly programming and security, but also whatever else I decided to spew out.
The rest of this post will cover the steps I took to get my blog up and running on Cloudflare Pages.
Step 0: The Prerequisites
I mainly got to skip the prerequisite stuff. I already had my base site written, I already have a CF account with a domain, and I already have a GitHub account. If you don't have these things, you will need to get them before you can proceed.
Step 1: Create a New Repo
Alright, now for the actual work. The first thing I did was initialize a new repo with git and add mkdocs-material to the project using poetry:
mkdir jakes-blog && cd jakes-blog
git init
poetry init
poetry add mkdocs-material mkdocs-blog-plugin
Step 2: Putting Link to Blog in OCI Site
No hidden tricks here - I just added in a link to the main site. You can check out the main site for yourself here.
Step 3: Final Resources Touch Up
With the website content in place, I needed to add a few more things to the project in terms of style.
Favicon
mkdocs-material has a built-in way to add a favicon. I just had to add the icon to the docs/imgs/ directory.
Final styling touches with mkdocs.yml
This is not the full mkdocs.yml file, but it should give you an idea of what I did. I added a dark mode toggle and some other things.
theme:
  favicon: imgs/favicon.ico
  logo: imgs/favicon.ico
  name: material
  palette:

    # Palette toggle for dark mode
    - media: "(prefers-color-scheme: dark)"
      scheme: slate
      toggle:
        icon: material/brightness-4
        name: Switch to light mode

    # Palette toggle for light mode
    - media: "(prefers-color-scheme: light)"
      scheme: default
      toggle:
        icon: material/brightness-7
        name: Switch to dark mode

  features:
    - navigation.instant
    - navigation.instant.prefetch
  highlightjs: true
  user_color_mode_toggle: true
site_author: Jake Lindsay <jake@jakelindsay.uk>
site_description: Jake Lindsay's blog.
markdown_extensions:
  - pymdownx.highlight:
      anchor_linenums: true
      line_spans: __span
      pygments_lang_class: true
  - pymdownx.inlinehilite
  - pymdownx.snippets
  - pymdownx.superfences
Almost done! Now for the technical part.
Step 4: Initial Commit and Push
Good ole, git...
git add --all
git commit -S -m "Initial commit"
git remote add origin https://github.com/0x41424142/jakes-blog.git
git branch -M main
git push -u origin main
Step 5: Setting Up Cloudflare Pages
To make this as easy as possible, I used Cloudflare's website.
- Go to the Cloudflare dashboard and click on the
Workers & Pagestab. - Under pages, click
connect to git. - Follow the prompts to connect your GitHub account and select the repo you just created.
- Under
framework preset, selectMkDocs. - Since we used poetry, we need to specify a custom build command:
poetry run mkdocs build. - Click
save and deploy. - After a few moments, your site should be live!
Great! One last step - hooking up the domain.
Step 6: Hooking Up the Domain to the Cloudflare Pages Site
From the pages page in Cloudflare, click on the site you just deployed. Click on custom domains and add your domain. That's it!
Wrap Up
That's it! The blog is live! I hope you enjoyed this post. If you have any questions, feel free to reach out to me on Twitter (it will never be X!) or via email. Thanks for reading and (maybe) I'll see you soon.